


I'm switching gears from my series of posts regarding the development of my artwork management application (ArtShowTools) because I ran out of storage space on my old Docker server.
I originally set up my Docker server on a Dell Optiplex 790 running Fedora Server 35 in 2021 so I could explore using and deploying containers. Over the last two years, many of the experiments have turned into services I use frequently and the Optiplex 790 has reached its limits. When I couldn't install an EventStoreDB database without moving some containers off the server or upgrading the storage, I decided to invest in a new server.
This series of blog posts will cover the setup of my new Docker server as well as the deployment of several containers on the new server to support my home projects.
The Hardware
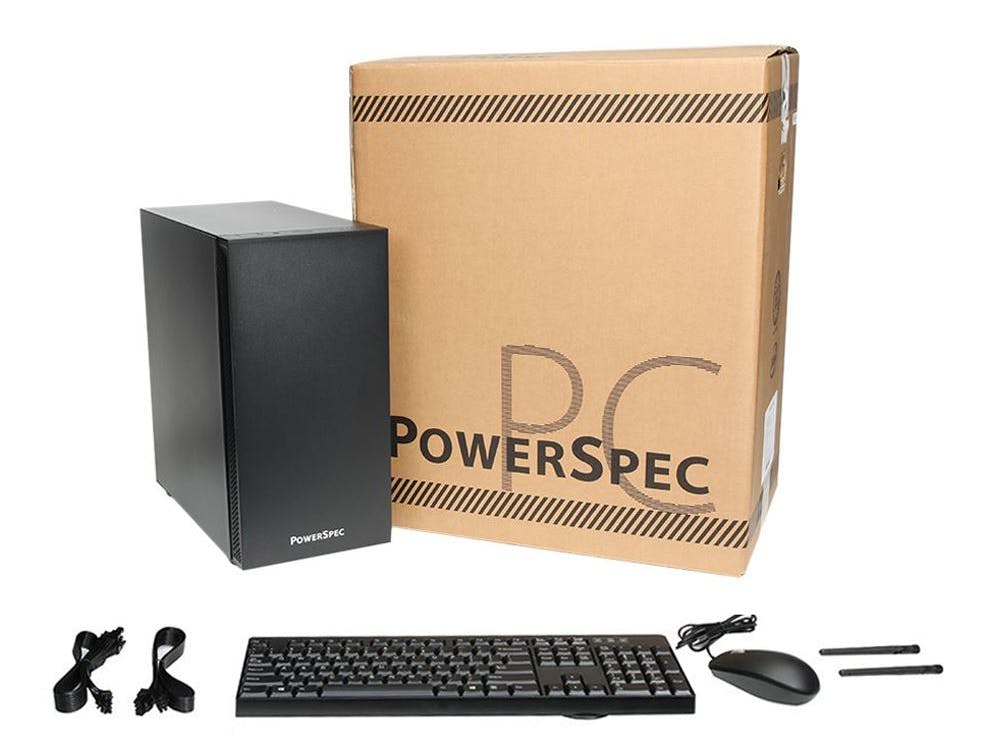
I was fortunate to get a really good deal on a PowerSpec B734 from Microcenter with a Ryzen 7 5700G processor, 16 GB memory, and a 1 TB NVMe drive. I plan to upgrade the memory to 32 GB using some memory sticks left over from a different server upgrade along with increasing the storage by adding a 2 TB SSD drive later this spring.
If you're planning on creating your own Docker server at home, the best approach is to use existing hardware rather than buy new. Repurposing an old PC after upgrading to a new one is a perfect way to try out Docker without spending any money. The Optiplex 790 I am currently using came out in 2011 and has had no trouble running a dozen containers with an Intel I5-2400 processor, 16 GB memory, and a 500 GB SSD drive.
The Host OS
The PowerSpec B734 came with Windows 11 installed but for hosting containers, I prefer to use Linux. Linux uses far fewer system resources than Windows which is a major benefit when running on older hardware. My Linux distribution of choice for my Docker server is Fedora Server. The installation is simple and Fedora Server comes with Cockpit already installed for easy remote administration using a web browser.
NOTE: At the time of this writing (2023-04-25), Fedora Server 38 has been released but I'm using 37 because the official Docker packages for 38 have not yet been released.
Preparation
First, I downloaded the Fedora Server 37 DVD ISO for x86/x64 hardware from the Fedora website and used Rufus to create a bootable USB drive from the ISO image.
Next, I set up the PowerSpec B734 with a keyboard, mouse, monitor, and network connection. Most of this setup is temporary -- after Fedora Server is installed, I will be accessing the system using Cockpit on a web browser or through an SSH connection from my workstation. I booted the system up to make sure everything was working and copied the Windows 11 key (just in case I ever wanted to reinstall Windows).
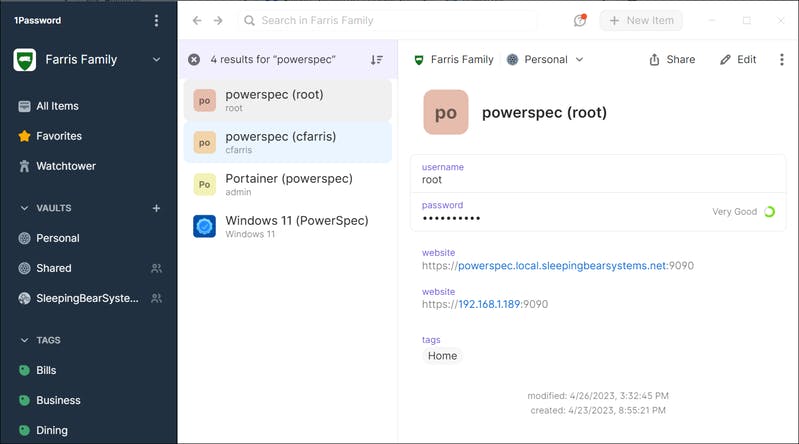
Finally, I created logins for the root account, my user account, and the Portainer admin account in my password vault. I highly recommend using a password vault for managing logins, SSH keys, and software licenses (especially if you're building a home lab) and my preference is 1Password.
Installation
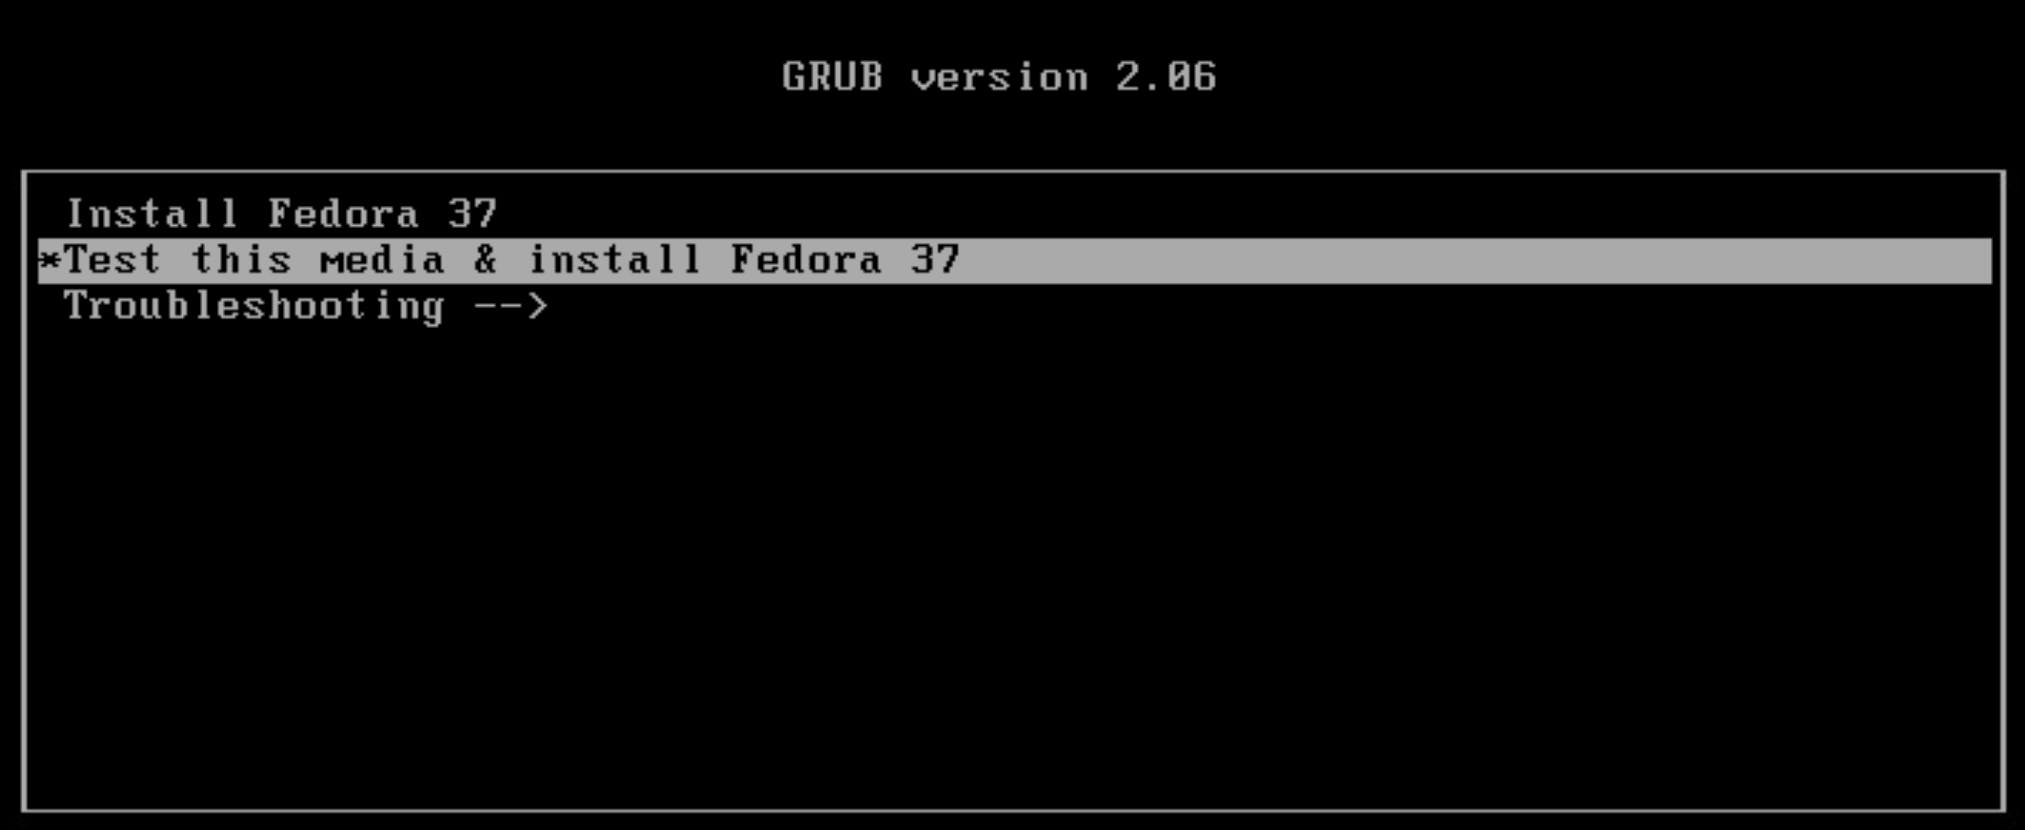
Installing Fedora Server is very straightforward - I inserted the USB drive, restarted the system, booted from the USB, and selected the Install Fedora 37 option to start the installation.
Fedora Server does require some configuration but the installer comes with a friendly GUI. The sections below cover the configuration that I used for my installation.
Installation Destination
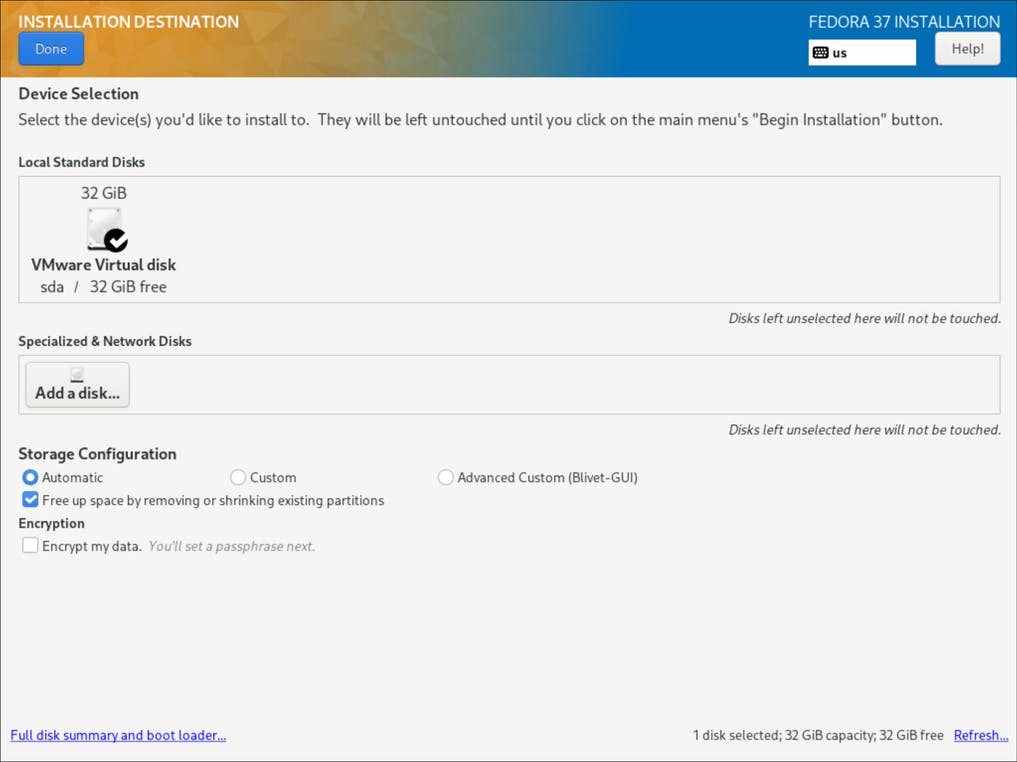
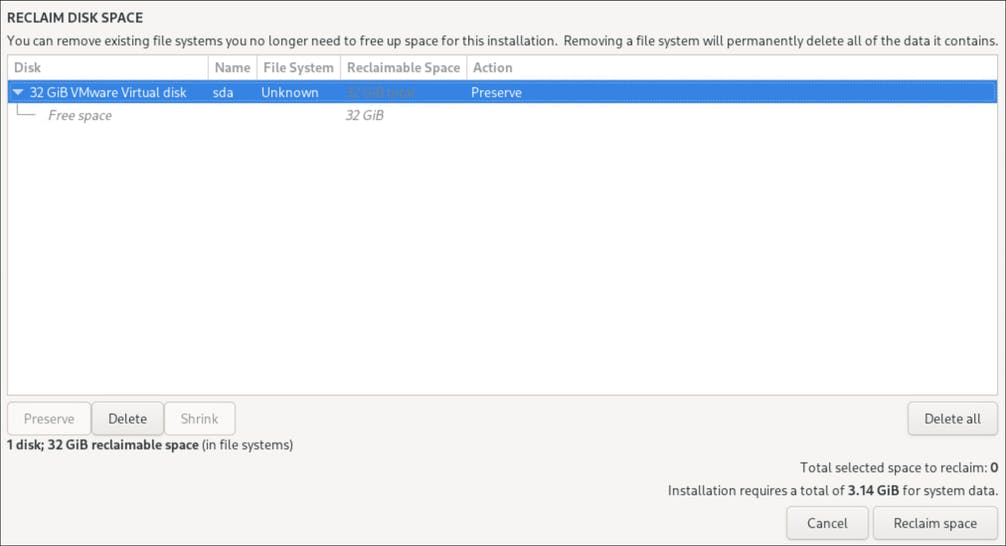
The PowerSpec B734 has a single NVMe drive with Windows 11 installed so to ensure the drive was completely repartitioned for Fedora Server, I used the Automatic setting for the Storage Configuration and checked the Free up space by removing or shrinking existing partitions checkbox.
NOTE: The screenshots were taken from a second Fedora 37 installation done in VMware so the hardware will appear different but the process is the same.
I clicked the blue Done button to continue the installation and the installer prompted me for which partitions to adjust in the Reclaim Disk Space dialog. I clicked the Delete all button and then clicked the Reclaim space button to finalize the storage configuration.
Network & Host Name
For the network configuration, I copied the IP address for later use and set the Host Name by entering powerspec and clicking the Apply button.
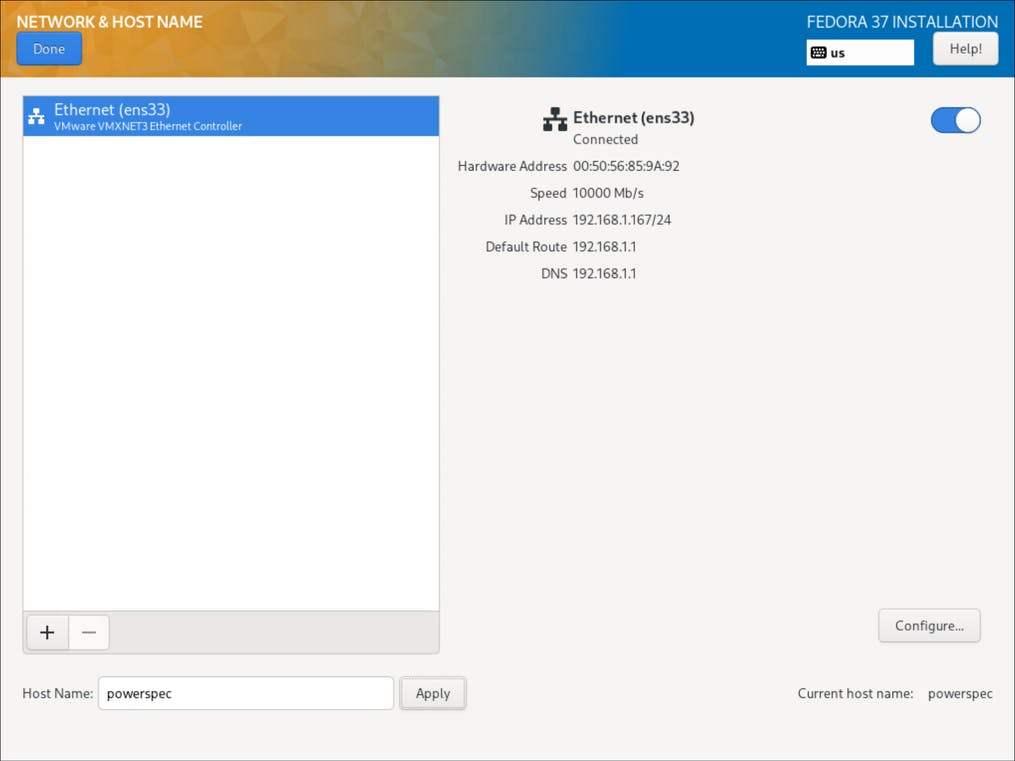
I could have set a static IP address here in the installer by clicking the Configure button and going to the IPv4 Settings tab but I prefer to do that post-installation on my router.
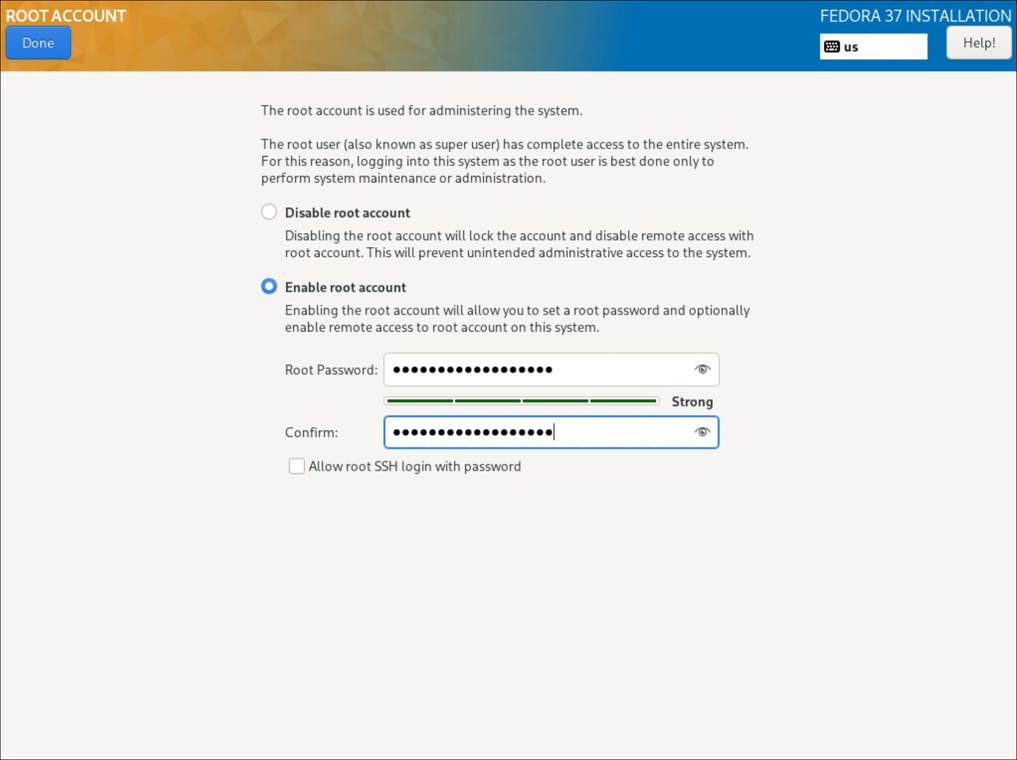
Root Account
I configured the root account using the password I stored in my password vault while preparing for the installation.
Create User
I set up my user account by entering my name along with the username and password I created earlier. To allow this account administrative access, I made sure the Add administrative privileges... checkbox was checked.

With the configuration completed, I ran the installation and rebooted the system when the installation finished.
Post-Installation
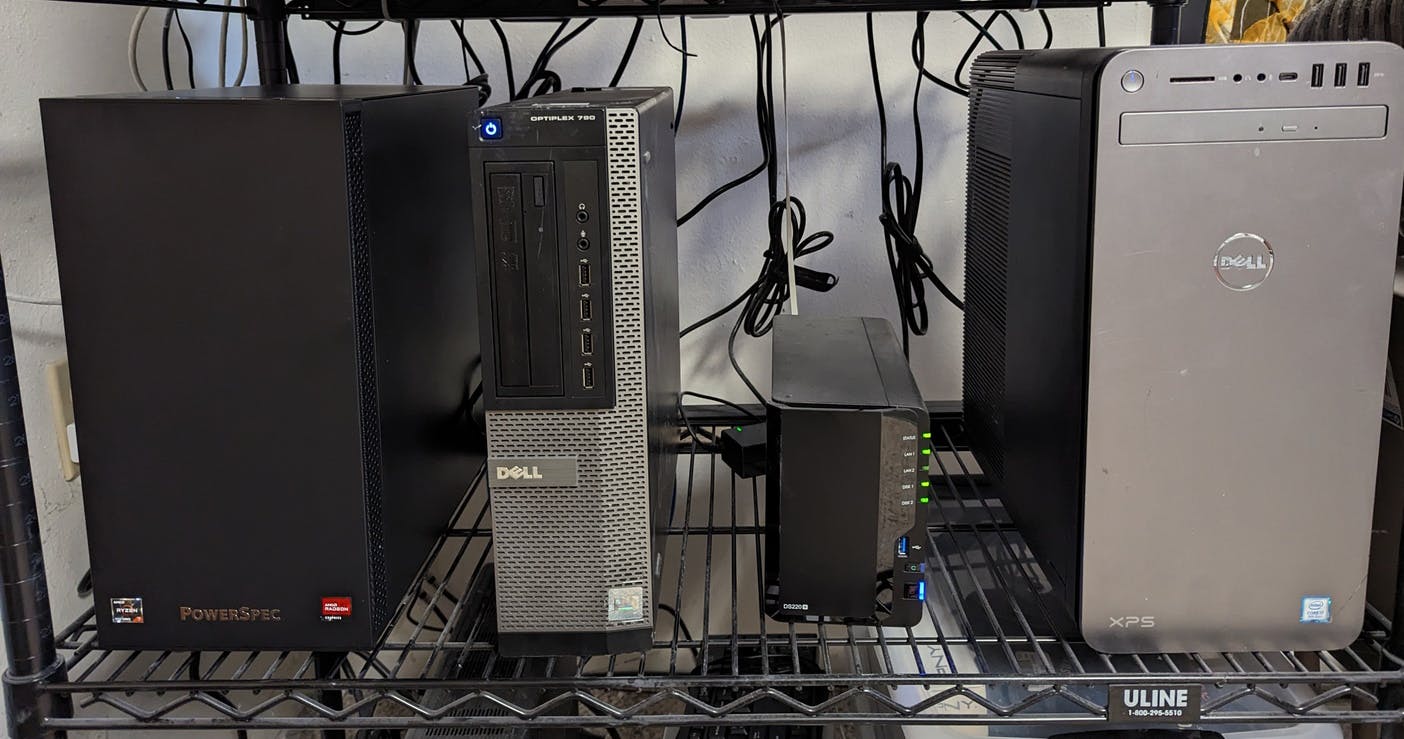
At this point, I disconnected the new server and moved it into my server room. Since all administration will be handled remotely using Cockpit or SSH, I only needed to plug in the power and network cables. Here's the new server along with Dell Optiplex 790, a Synology 220 NAS, and a Dell XPS 8930 running TrueNAS Scale.
Since I didn't specify a fixed IP address during the installation, I had to update the IP address in my router. I finished off the network configuration by creating local DNS records in Pi-hole so I could use the hostname to reference the new server.
Cockpit
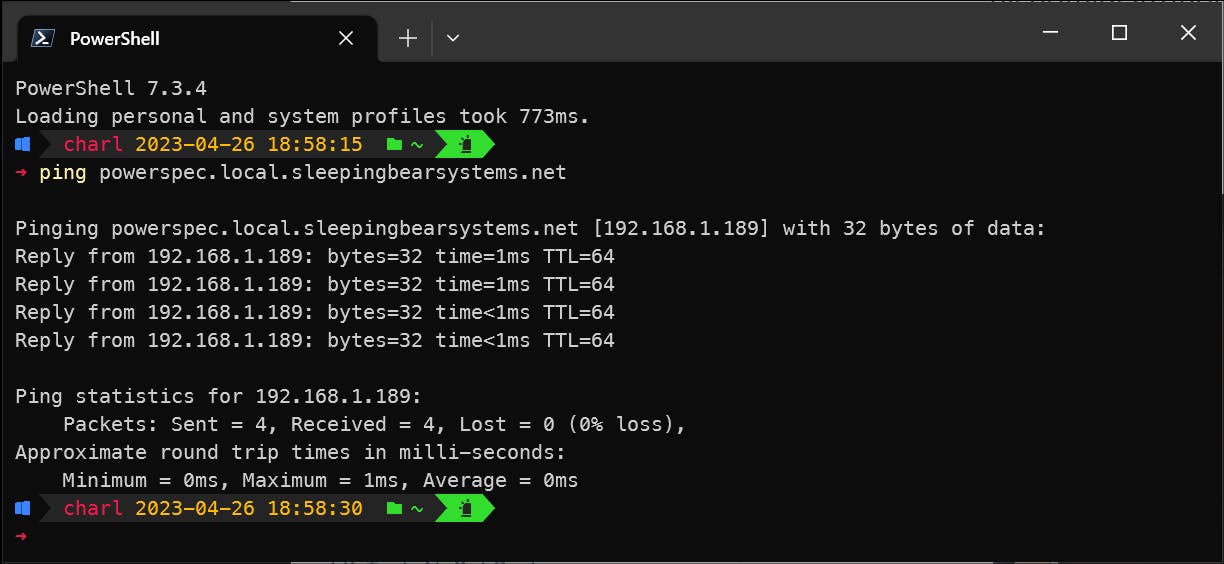
With the network configuration complete, I opened up a web browser and entered the URL https://powerspec.local.sleepingbearsystems.net:9090/ to bring up Cockpit.
NOTE*: If you don't have a local DNS server, you can also access Cockpit using the IP address in the URL.*
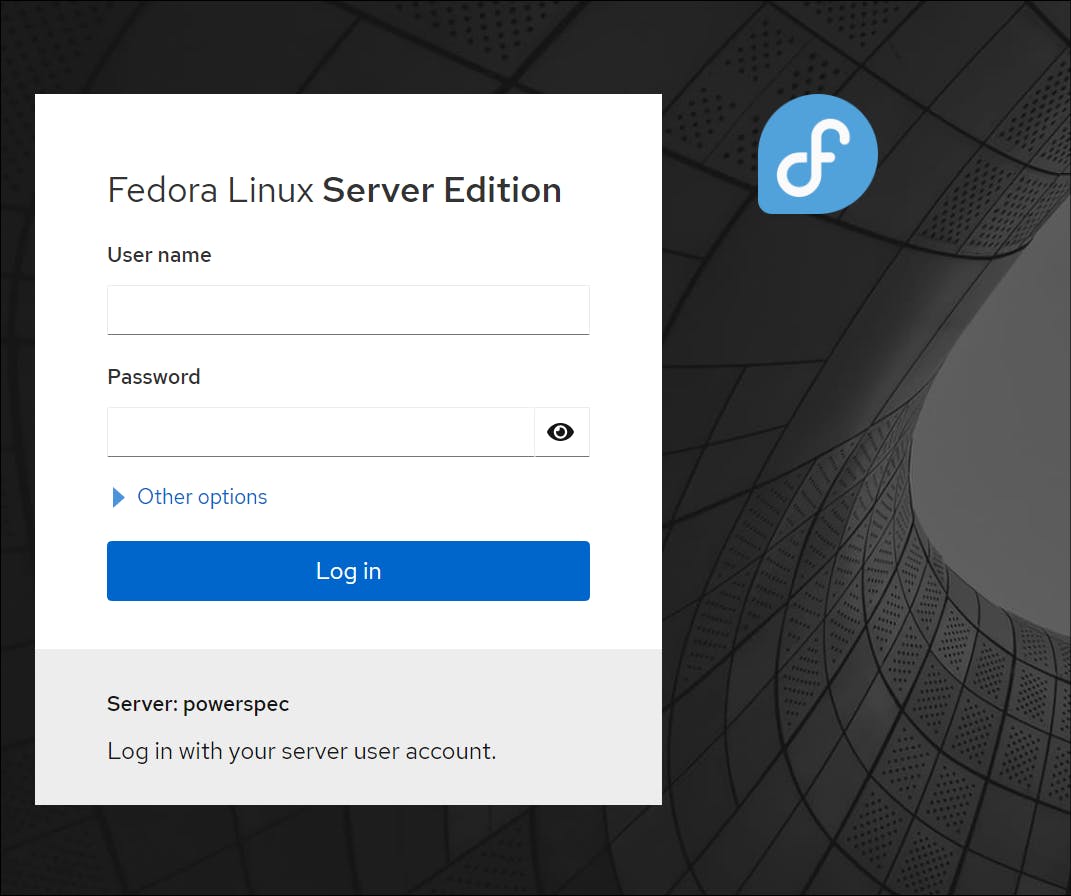
I logged into the server using my user account and Cockpit brought up the administration dashboard.
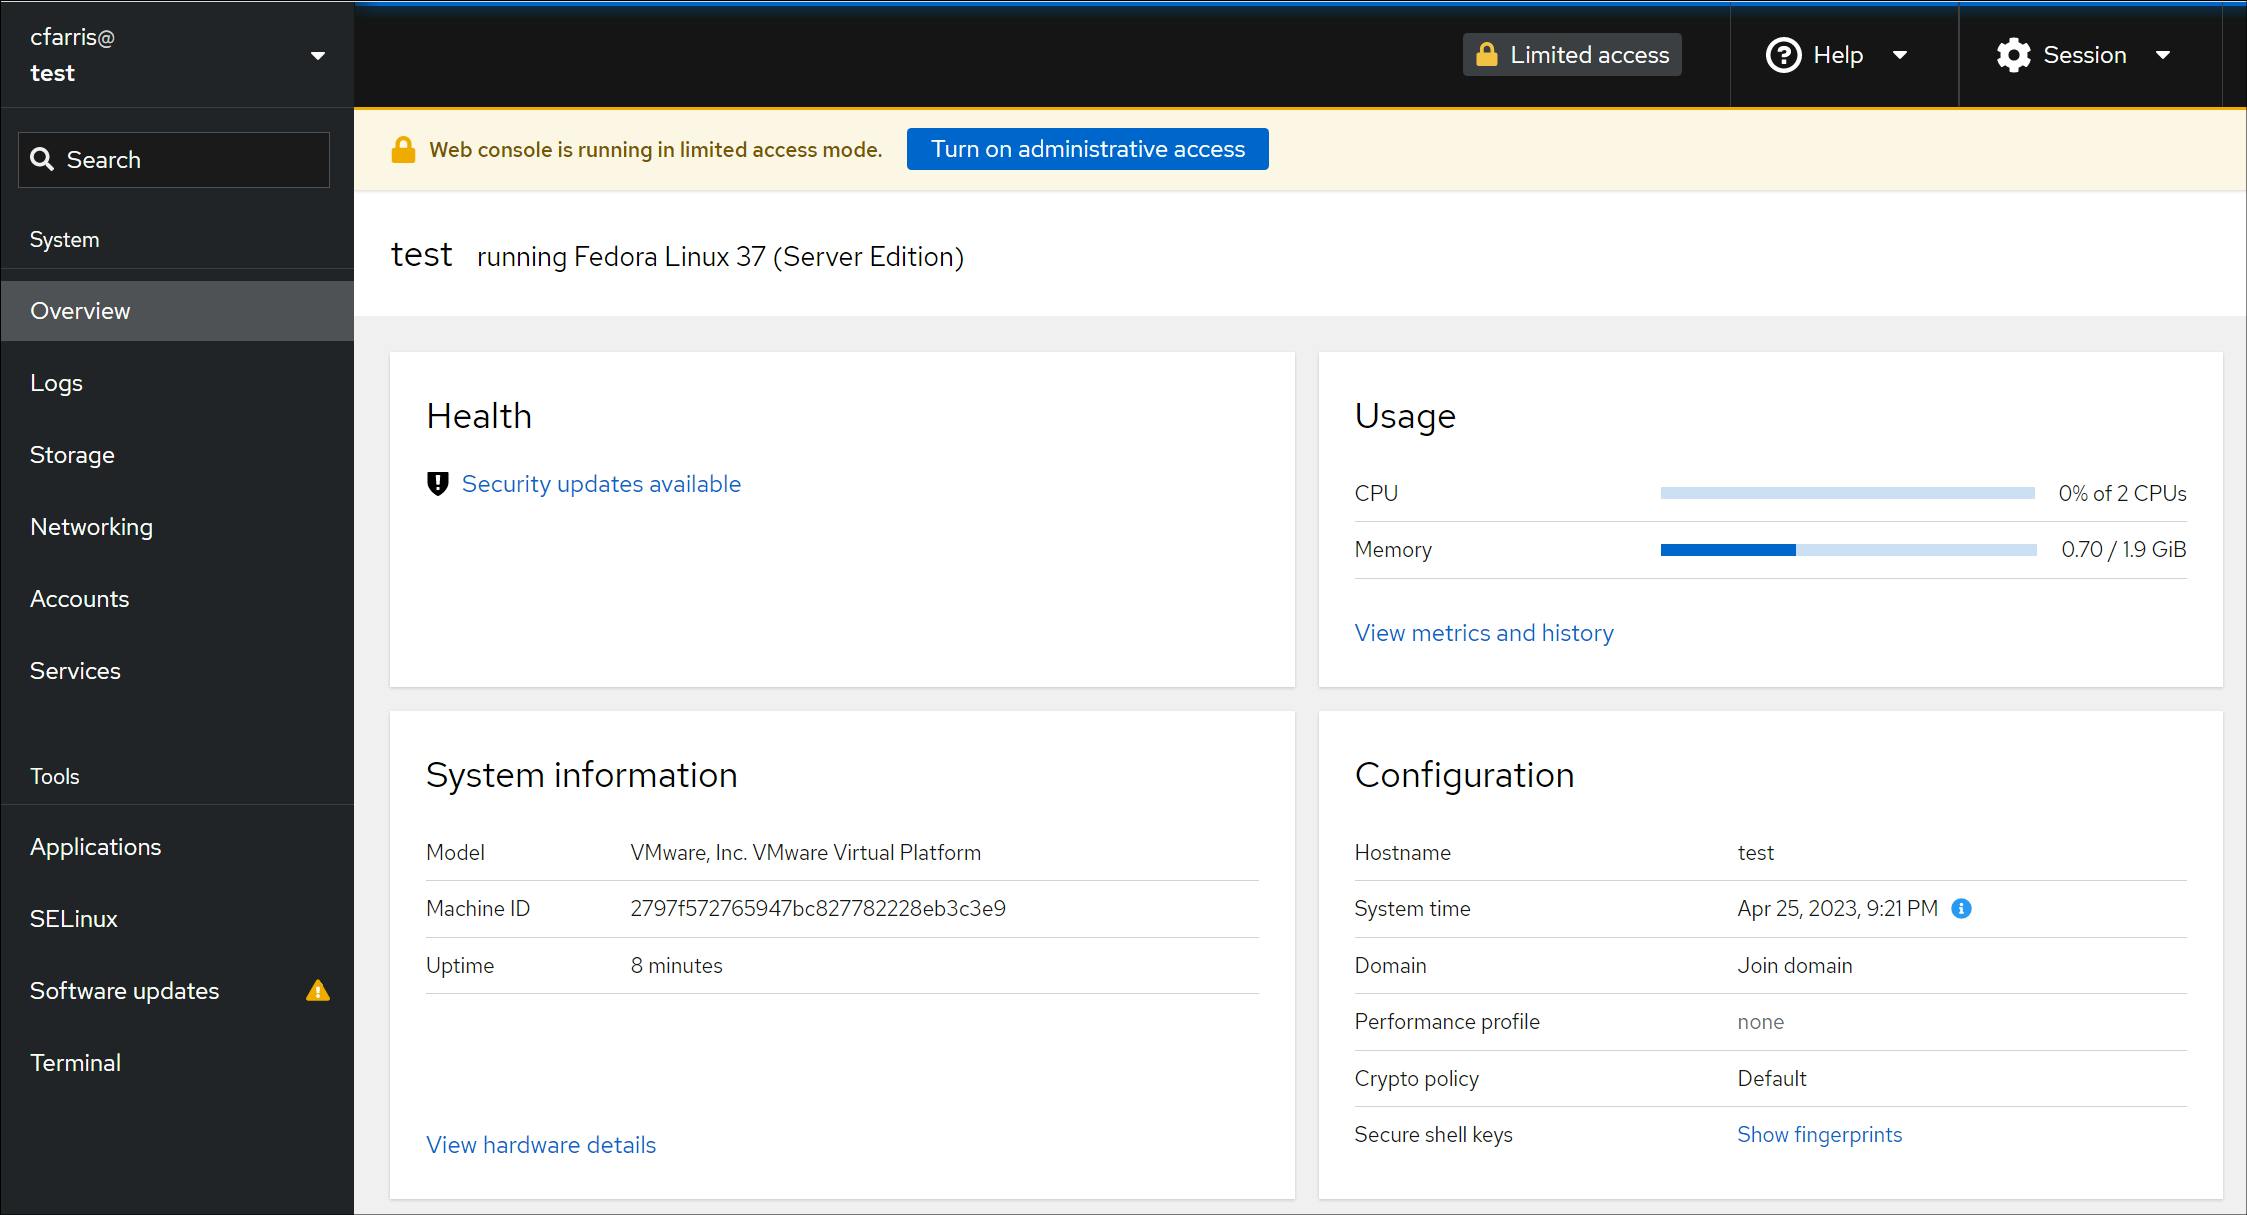
Since there are pending software updates, I turned on administrative access, installed all the updates, and rebooted the server. Fedora Server 37 is now installed and up-to-date!
Installing Docker
To install Docker, I used the installation instructions for installing from a repository on the Docker website: https://docs.docker.com/engine/install/fedora/#install-using-the-repository.
Installing Portainer
I use Portainer to manage my Docker containers. For home labs, Portainer offers their business edition for free by registering at https://www.portainer.io/take-5. I already have a Portainer Business Edition license so I installed Portainer using the instructions at https://www.portainer.io/install and selecting the Deploy Portainer on my lab infrastructure option.

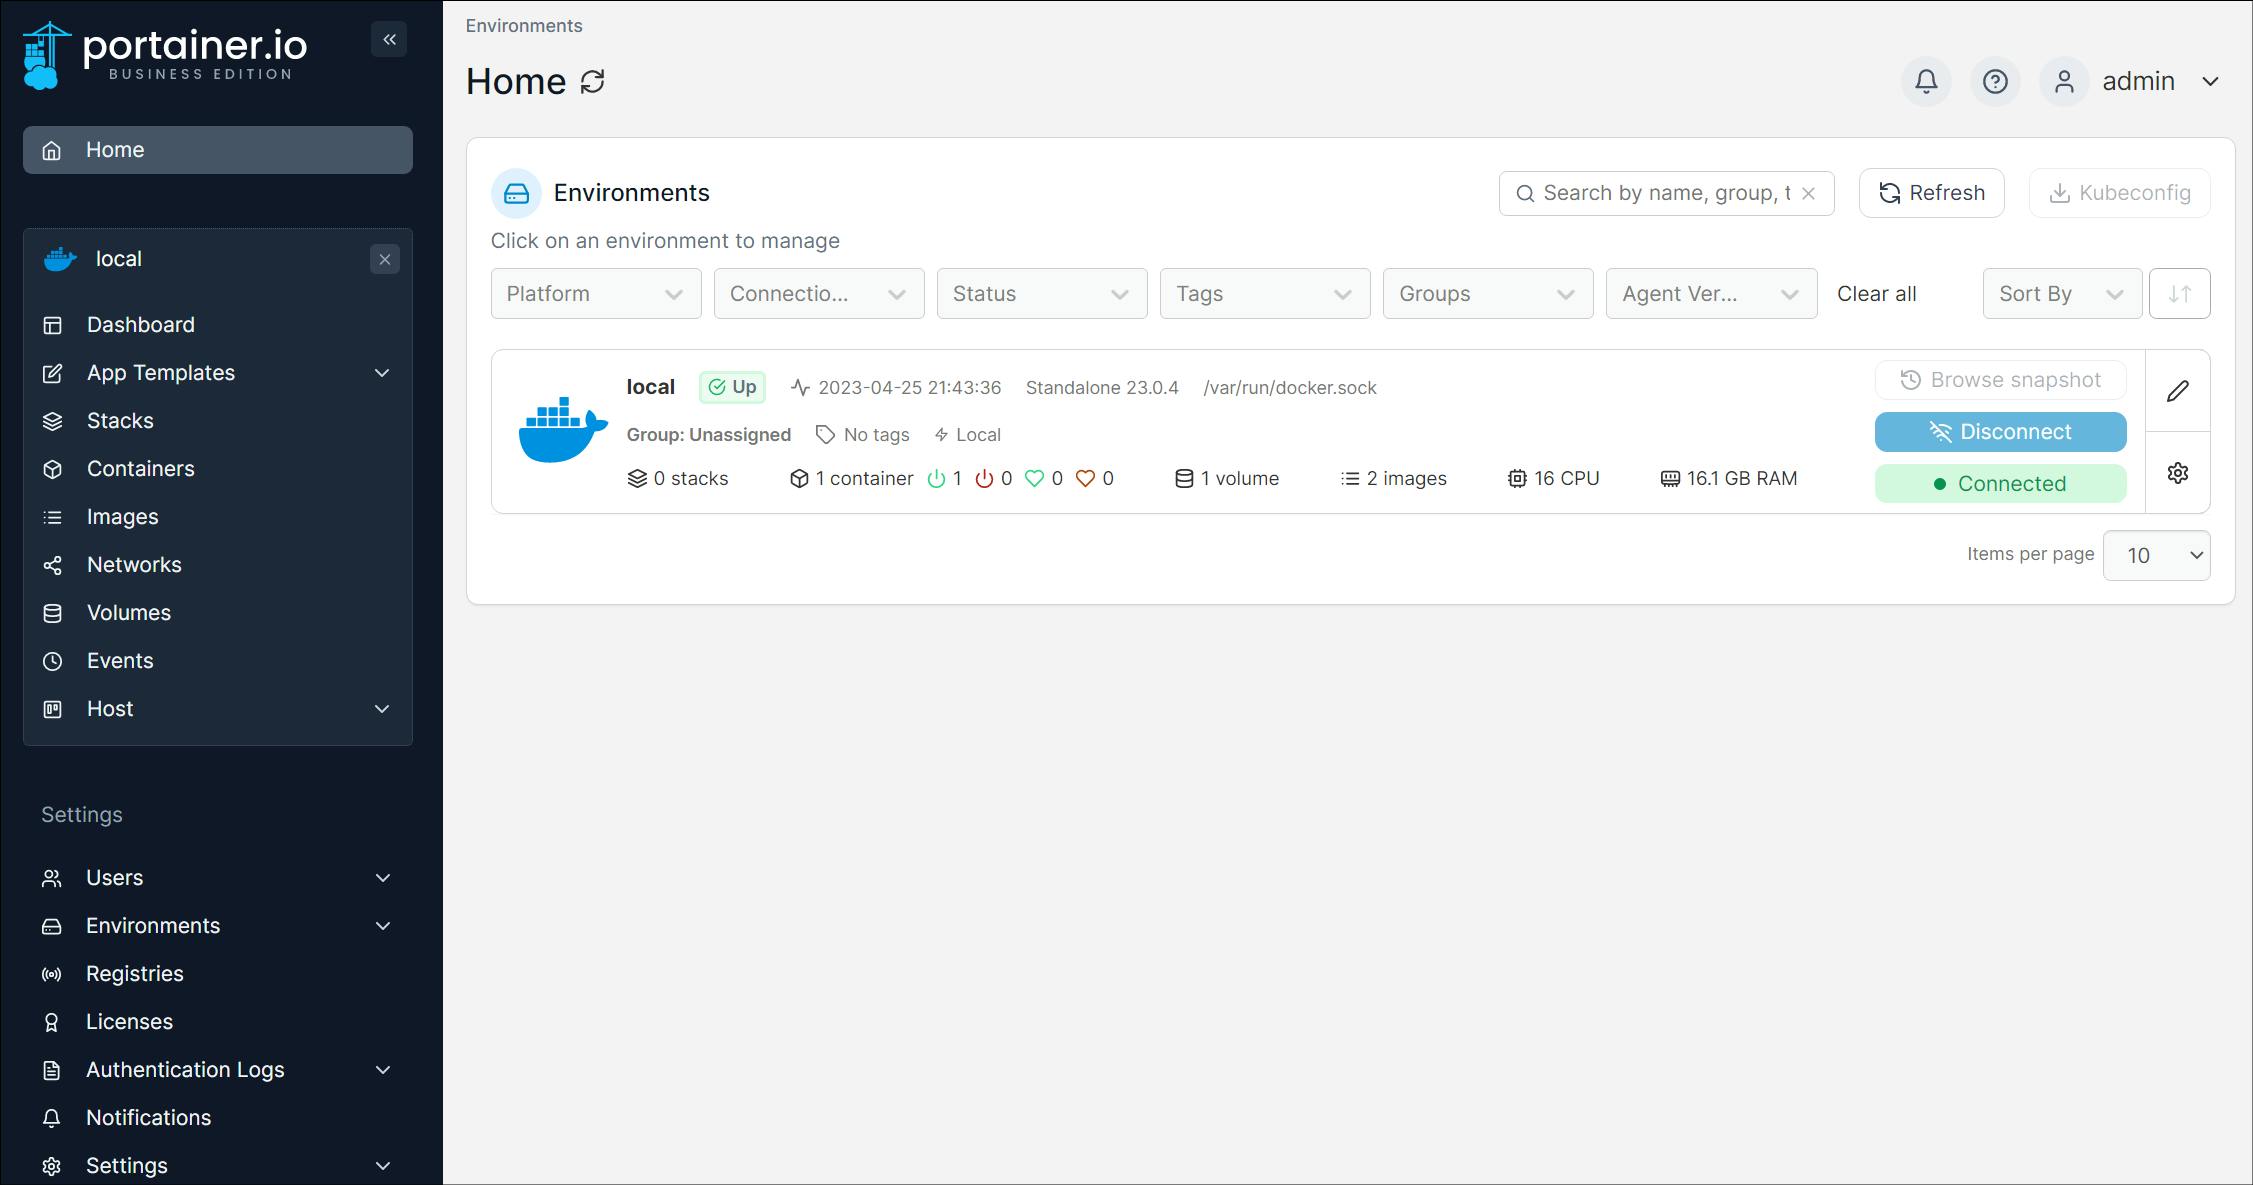
With Portainer installed, I opened the web interface by entering the URL https://powerspec.local.sleepingbearsystems.net:9443 in my web browser. As this is the first time logging in, I had to set up the administrator password and enter the license key. The Portainer home page appeared and the new Docker server is ready for use!
Next Steps
In the next post, I'll start setting up some services in Docker containers using Portainer:
EventStoreDB
TeamCity Build Agents
Postgres Database Server
pgAdmin Tool
I'll also write up some blog posts regarding further integration tasks I'll be performing on the new server:
Integration with my Network UPS Tools (NUT) server
Integration with my Synology NAS
SSH Login Setup